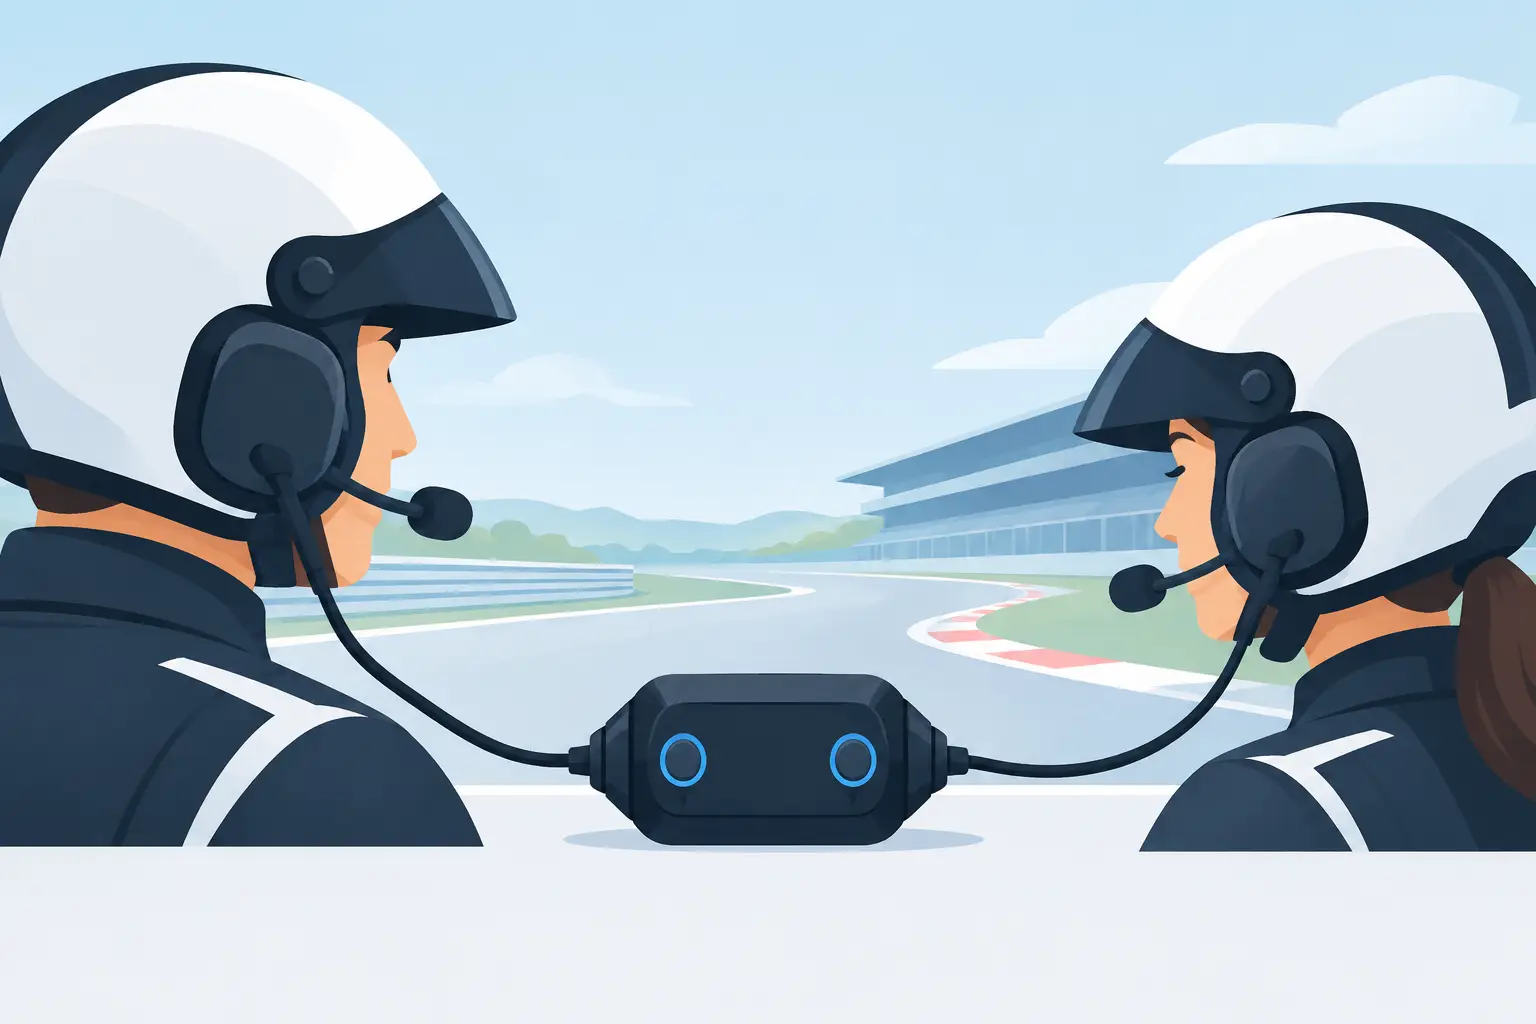
A missed pit call can cost track position. A driver who cannot hear a warning about oil pressure, traffic or a developing tyre issue is operating without information the team already has. A two person race intercom gives a driver and one crew member a direct, controlled communications path, but only when the radio, helmet wiring, push-to-talk arrangement and aerial installation are specified as one system.
For an owner-driver, that may mean a simple car-to-pit setup for track days and club racing. For a race team, it may be the first part of a wider crew radio system. The principle is the same: intelligible audio in a very noisy environment, hardware that will tolerate vibration and repeated use, and connections that match the equipment already in service.
What a two person race intercom needs to do
The phrase can describe several arrangements, so define the operating requirement before buying components. In most cases, the two people are the driver and a pit wall, garage or support-vehicle operator. The driver wears a helmet kit with speakers and a boom microphone, connected to an in-car radio interface. The crew member uses a handheld or portable radio with a headset and push-to-talk switch.
This is different from a wired intercom between two occupants in the same car. It is also different from a full multi-user crew network where several engineers, mechanics and spotters need to talk simultaneously. A two-user system is often the right choice when communication needs to be clear and dependable without adding unnecessary radios, chargers and headsets to the event setup.
The core requirement is not simply transmission range. At a circuit, signal quality is affected by pit buildings, garages, banking, paddock traffic and the position of the car aerial. A radio that performs well in an open field may not provide the same useful coverage around a busy circuit. Audio quality, antenna installation and correct programming are therefore as important as the radio’s headline power rating.
Start with the driver environment
The cockpit determines the specification. A helmet microphone must reject as much engine, exhaust, wind and transmission noise as possible while still picking up normal speech. Speaker placement matters too. If speakers sit away from the ears or are obstructed by helmet lining, increasing the volume may only introduce distortion and fatigue rather than clarity.
A proper helmet communication kit should be selected around the helmet’s available mounting space and connector type. Motorsport systems commonly use LEMO connectors, but configurations vary by brand and installation. Pin count, keyway, microphone bias, speaker wiring and push-to-talk circuits are not interchangeable assumptions. A connector may physically resemble another part and still be electrically unsuitable.
For open-cockpit cars, noisy GT machinery and rally vehicles, the microphone position and helmet seal deserve particular attention. The aim is to keep the microphone close enough for consistent speech level without placing it directly in the driver’s breath path. Poor microphone placement is one of the most common reasons a radio system is reported as faulty when the radio itself is working correctly.
Choose a push-to-talk method that works under pressure
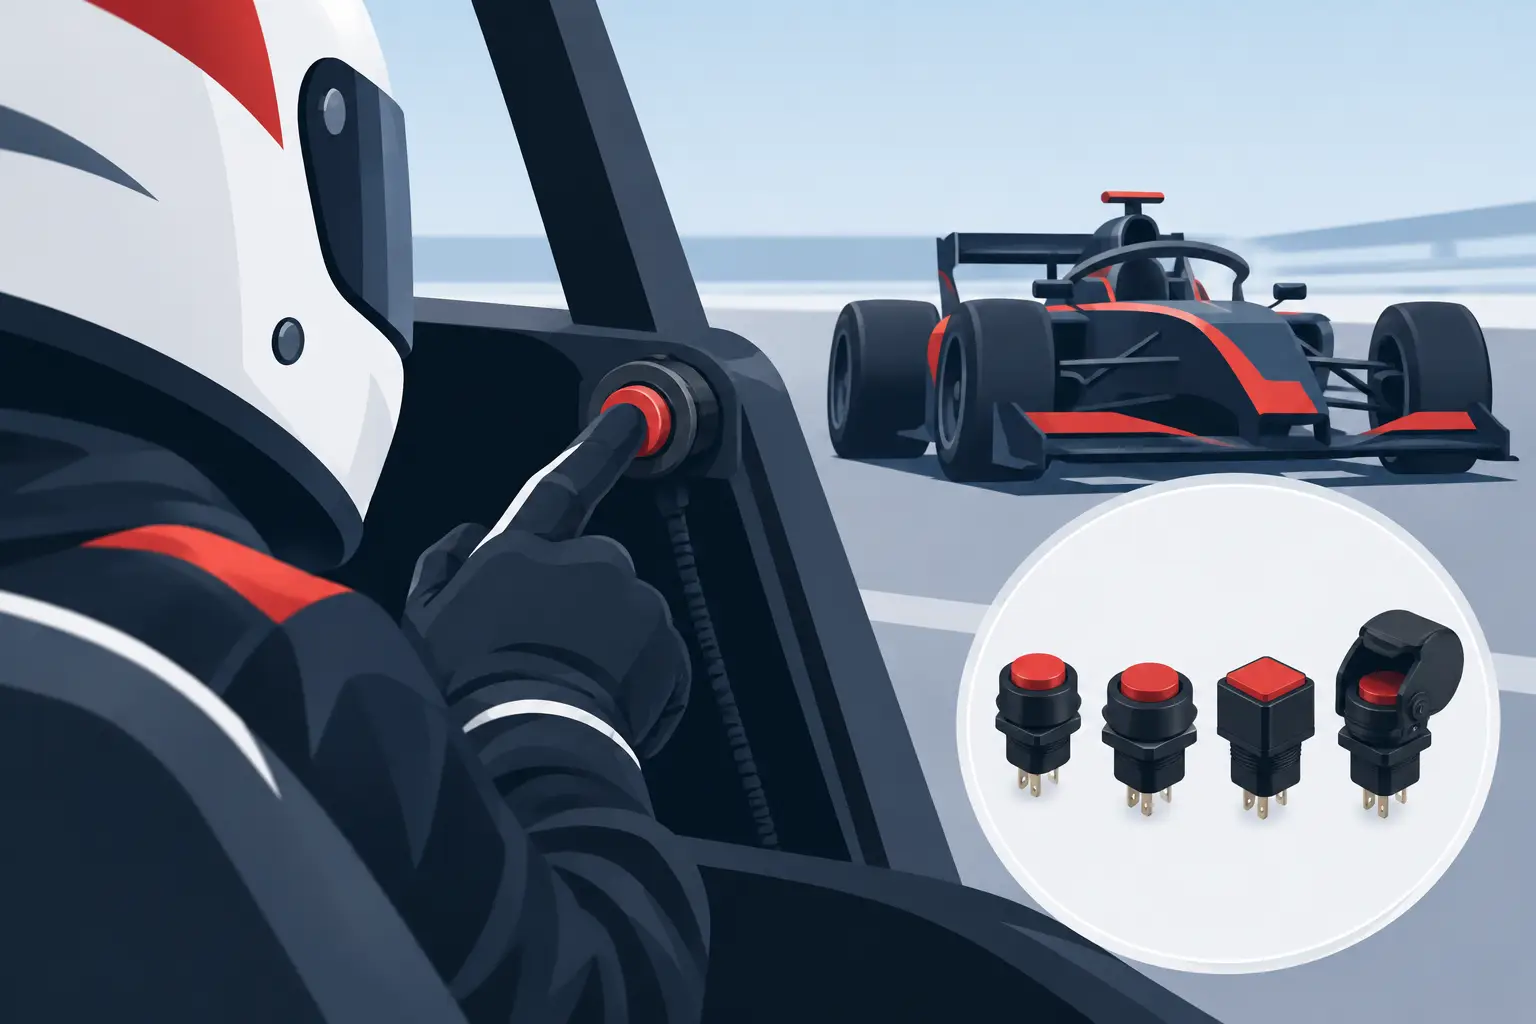
The driver needs a push-to-talk switch that can be found without looking away from the circuit. Steering-wheel buttons, dash-mounted switches and gear-lever positions can all work, depending on cockpit layout and driving style. The best location is the one the driver can operate while fully restrained and wearing gloves.
A steering-wheel push-to-talk is often effective in circuit cars, provided the cable routing allows full steering movement without stretching or chafing. A fixed dash switch can suit cars where the driver’s hands remain close to a known position, but it must not be hidden by the wheel or obstructed by gloves. Secure the cable away from pedals, sharp edges, seat runners and heat sources. A quality interface is wasted if its wiring fails at the first vibration point.
Selecting the car radio and aerial installation
The in-car radio must be mounted where it is protected but still accessible for inspection. Consider power supply, grounding, ventilation, charging provision where applicable, and access to volume or channel controls. A radio installed behind trim with unsupported cables and no strain relief may work in the workshop yet fail during a race meeting.
A dedicated external aerial is normally essential. Its position should provide a clear as practical path to the pit lane while avoiding carbon fibre screening, large metal obstructions and excessive proximity to other electronic equipment. The aerial base needs a sound mechanical mount and correctly terminated coaxial cable. Kinked coax, loose connectors and poorly fitted antenna mounts can reduce performance far more than many users expect.
In metal-bodied cars, aerial placement and ground plane can affect range. In composite-bodied cars, the installation requires even more care because the bodywork may not provide the same electrical ground reference. There is no universal mounting position that suits every vehicle. The right answer depends on body construction, available cable routes, series regulations and the radio system being used.
Do not coil surplus aerial cable tightly behind the dashboard simply to make it disappear. Keep the route tidy, supported and away from ignition components and high-current wiring. Where a cable must pass through bulkheads or panels, fit suitable protection rather than allowing it to rub against an exposed edge.
Specify the crew side for the actual job
The crew operator’s headset should be chosen for its working environment. A pit-lane headset needs good speech intelligibility around running engines and air tools, but it must also be comfortable enough for extended use. Over-ear hearing protection may be appropriate in high-noise settings; lighter headsets can be suitable for a quieter garage or pit wall position.
The operator also needs a practical way to carry the radio. A belt clip, protective case or harness should keep it secure without making the push-to-talk control awkward to use. Batteries, chargers and spare power arrangements are part of the system, not optional extras. A radio that is flat when the assembly area opens is no more useful than one with a failed microphone.
For events where the crew member moves between the garage, pit wall and paddock, test coverage across those locations before qualifying. If the radio is operating at the edge of its useful range, changing aerial position or crew location may solve the problem more effectively than increasing volume.
Compatibility is the main purchasing check
Motorsport communications equipment is frequently built up over time. A team may already have Racecom, Speedcom, Autotel, MRTC or Rugged Radios hardware, plus existing helmets, car looms and headsets. That does not mean every new component will connect directly.
Before ordering, confirm the radio model, helmet connector type, existing car interface, desired push-to-talk position and whether the kit needs to work with any legacy equipment. Also establish whether the radio channel setup must align with a team’s current allocation or event requirements. Buying on connector appearance alone creates avoidable delays and often leads to adaptor chains that add potential failure points.
Where a standard kit does not suit the installation, custom LEMO-based leads, extension cables and tailored harnesses can provide a cleaner result. The objective is not to add complexity. It is to create a serviceable installation with the fewest unnecessary joints, clear cable routing and replacement parts that can be identified quickly at the circuit.
Test the system before the race weekend
Bench testing proves basic function, but it does not reproduce a live cockpit. Test with the driver’s helmet on, engine running and the car outside where possible. Check both directions of communication, push-to-talk operation, speaker volume and microphone clarity. Have the crew operator repeat back key messages rather than relying on a vague “loud and clear”.
Then inspect the practical details. Turn the steering from lock to lock, operate all pedals, move the seat if it is adjustable and check that the driver can connect and disconnect the helmet lead without straining the connector. Confirm the aerial is secure, batteries are charged, spare batteries are labelled and a backup headset or lead is available where the event matters.
If audio degrades intermittently, start with connectors and cable strain points before condemning the radio. Contamination, worn locking rings, damaged pins and broken conductors close to a plug are common faults in equipment that has seen repeated race use. Professional equipment servicing and repair can often return established communications hardware to useful service rather than forcing replacement of an entire system.
Build for serviceability, not just installation
A tidy two person race intercom should be easy to inspect between sessions. Label radio feeds, keep spare leads with the correct connector family, and avoid permanently burying critical joins behind panels. Racing is hard on cabling, especially around driver changes, removable steering wheels and frequently opened bodywork.
The right system is the one that lets the driver hear the call first time, lets the crew speak without shouting, and can be repaired quickly when a connector or lead reaches the end of its life. Specify it around the car, helmet and operating routine you actually have, then test it under race noise before it is needed.